
Introduction: A loaded canvas coffee tote usually shows wear at its seams first, and tracing how force travels from handle to bag body explains why reinforced stitching matters.
Two totes can look identical on a shelf and behave very differently after three months of daily carry, because the differences that decide durability sit in the stitching rather than in the outer shape. Buyers comparing canvas coffee tote bags tend to study the fabric and the print first, then notice later that a handle area has gone soft, the top edge has puckered, or a seam line has begun to spread.
Almost all of that wear traces back to how load moves from the handle into the bag body, and how the seams along that route were built.
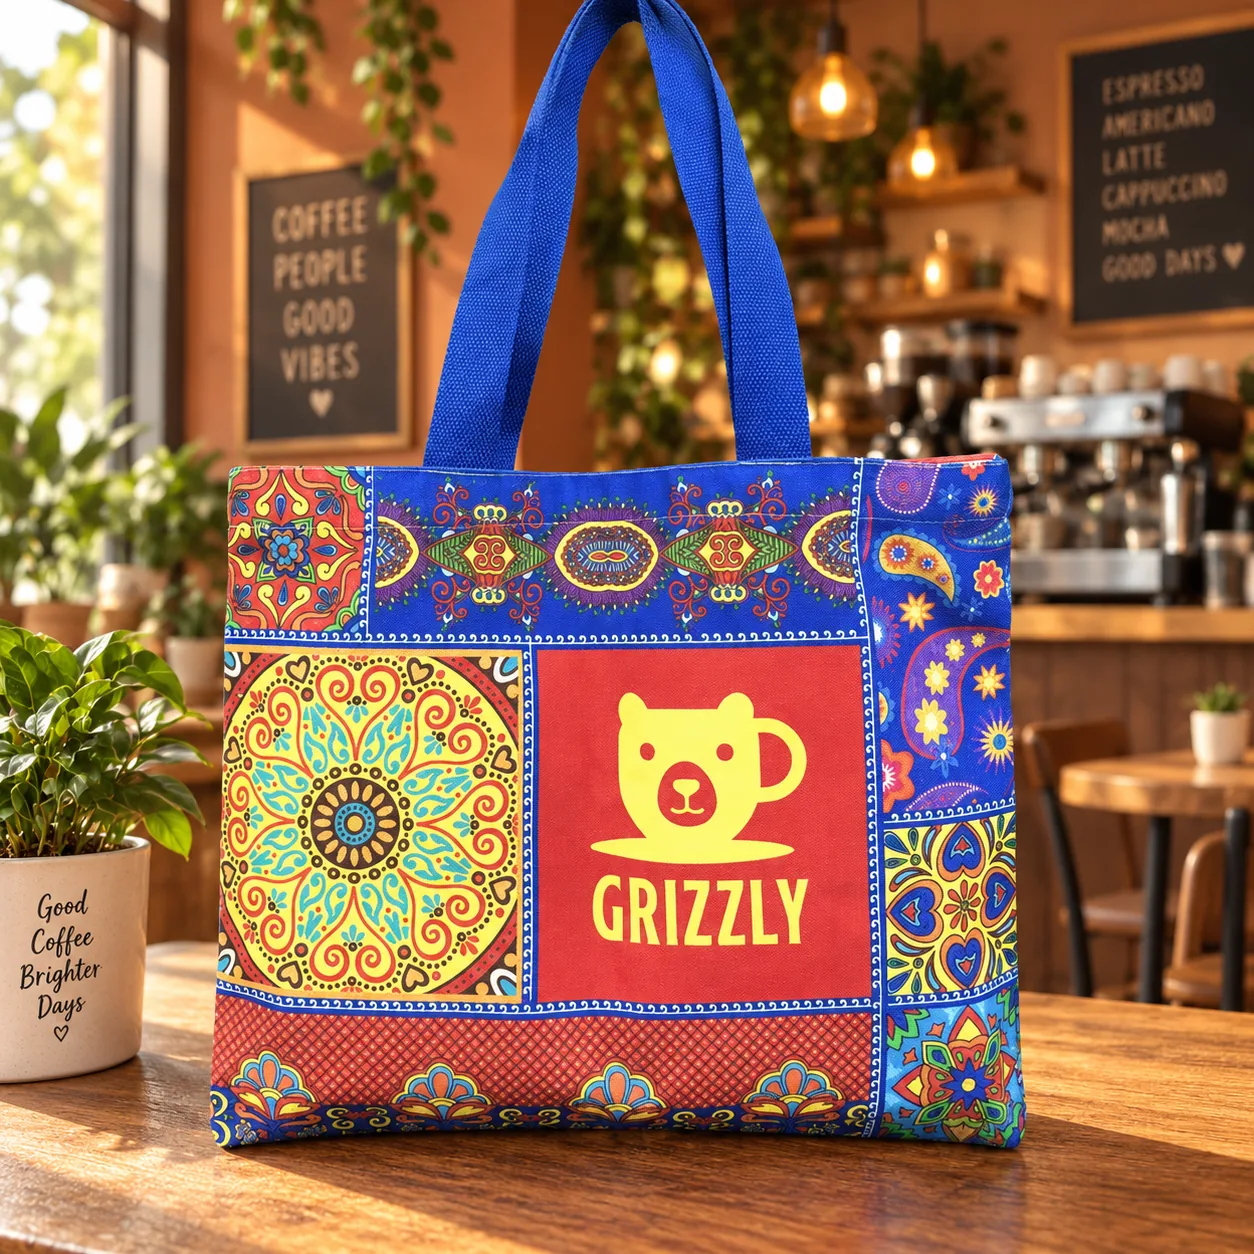
How Load Travels from Handle to Bag Body
How Weight Moves Through the Tote Bag Structure
The load path starts at the bottom of the bag. Everything inside — a bag of roasted beans, a travel tumbler, a boxed gift set — rests on the canvas and pushes down. The moment someone lifts the tote, that weight has to travel upward, and there is only one route available: through the handle webbing, into the small stitched zones where each handle meets the bag, and from there into the bag body with its side and bottom seams.
Nothing else connects the hand to the contents, so every gram inside the bag passes through a handful of stitched areas that are only a few centimeters wide. Wide webbing handles help at the start of that route. A wider strap spreads pressure across the palm and across a longer stretch of the top edge, so the hand is not taking the full load on a narrow band. The load still converges, though.
Why Handle Attachments and Repeated Movement Create Stress
Follow the webbing down and it narrows into two attachment zones per handle, where thread, canvas, and webbing meet. Everything the bag carries funnels through those zones, which is why a handle attachment is the first place a heavy tote shows stress rather than the middle of a panel.
The other half of the picture is repetition. A tote is rarely carried at a steady load: it gets lifted, set down, swung while walking, hooked over a wrist, and pulled sideways out of a car footwell.
Each of those movements adds a small tug at the stitch line, and the bag-body seams below the attachment points — the side seam and the bottom seam — carry the lower portion of the same load. Over hundreds of ordinary trips, that cycling is what makes a seam feel tired long before the canvas itself looks worn.
What Reinforced Stitched Seams Do at High-Stress Points
Reinforced stitched seams are best understood as a way of spreading force across more material. A single line of stitching concentrates pull on a narrow band of fabric and on relatively few thread loops, so the yarns right at that line do most of the work.
Reinforcement changes the geometry of the contact area: more thread, more fabric, and more surface engaged in holding the same weight. That is the mechanism behind what people describe as a sturdier-feeling handle or a top edge that holds its shape.
1. Stitch Density and Seam Allowance Change How Stress Spreads
Stitch density is simply how closely the stitches sit together. Short, even spacing places more stitch points along the same length of seam, so the load is divided among more loops of thread and more individual yarns in the canvas.
Seam allowance is the strip of fabric beyond the stitch line, the margin left on the inside of the bag. A generous allowance gives the stitching room to pull against material rather than against a raw cut edge, and it lets the seam flex slightly instead of locking rigid.
Read those two details together and you can see whether a seam was built to spread force or just to close an edge.
2. Reinforced Attachment Points Reduce Localized Pull on Canvas
Canvas is strong across its surface but far less forgiving at one concentrated point. When a handle is attached with a single thin row of stitches, the pull from a loaded bag focuses on that row, and the needle holes become the weakest line in the structure.
Reinforcement at an attachment area typically means extra rows of stitching, folded or doubled fabric, and sometimes a small backing patch, all of which enlarge the area sharing the load.
The same weight then pulls on a wider patch of weave instead of one stitch line, so the fabric distorts less and the handle keeps its shape through repeated lifting.
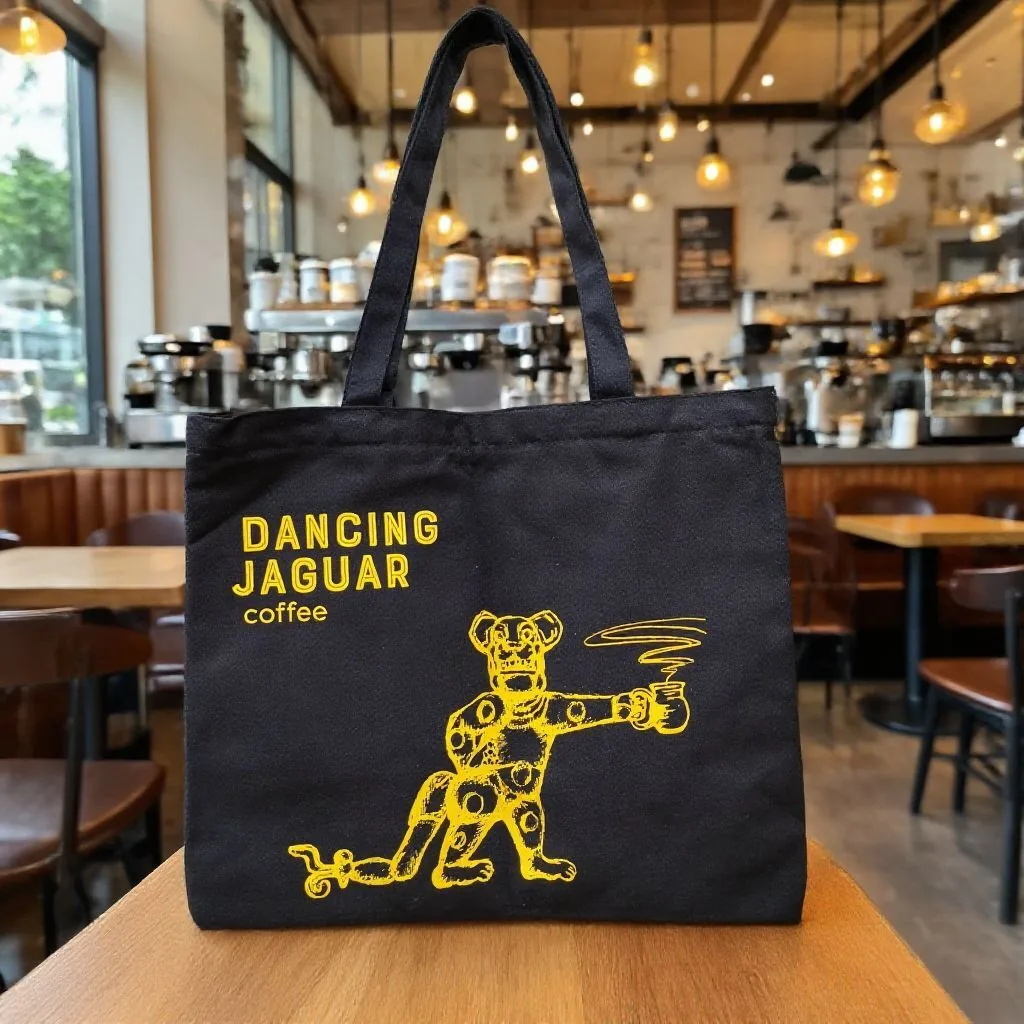
Which Visual Details Show How Seams Are Constructed
Checking Stitch Patterns, Seam Margins, and Handle Attachments
Most of this is visible without any tools. Turn the bag inside out and look at where each handle meets the top edge: multiple parallel rows of stitching, an even rhythm of stitches, and a reinforced patch or folded layer behind the webbing all point to an attachment built to spread load.
Then look at the margin beyond the stitch line on the inside seams. A visible strip of fabric past the stitching, with a finished edge, shows the seam has material to pull against.
Recognizing Early Signs of Seam Weakness
Wide gaps between stitches, loose thread ends, or a stitch line running very close to a cut edge tell the opposite story.
Ordinary carrying adds the second layer of information. Watch the handle attachment as the bag is picked up: a well-built attachment sits flat and holds the top edge up, while a thin one puckers or cups the top edge inward.
After a week of use, check the bottom seam and the side seam for pulled stitch holes or fuzz along the thread line. Labels and print answer different questions.
Why Physical Samples Matter Before Bulk Ordering
Fiber disclosure rules from the FTC describe what a bag is made of, OEKO-TEX STANDARD 100 covers chemical safety testing of textile materials, and printing research such as Fogra's digital printing work explains how ink bonds to a surface; the seam is a separate structural layer, read from the stitching itself.
Close-up photos help, and a physical sample is the clearest way to compare construction before a bulk order — an observed example such as the reinforced canvas coffee tote bag from AT PACK shows the handle, top edge, and body seams that are worth checking side by side.
Conclusion
Reinforced stitching is not a decorative detail. It is the part of a tote that decides how load moves from the hand into the fabric, and it is the reason two bags made from similar canvas can age in very different ways.
When you assess custom printed tote bags for a café program, start at the attachment points and the seam margins, then look at the surface. The stitching tells you how the bag handles weight; the print only tells you how it looks on day one.
A sample in hand answers both questions better than a photo ever will.
FAQ
Q: How do reinforced stitched seams help a loaded canvas coffee tote bag?
A: They spread the pull from the handle across more thread and more fabric instead of concentrating it on one narrow stitch line. Extra rows of stitching, doubled fabric at the attachment, and a wider margin beyond the seam all enlarge the area sharing the load, so the canvas distorts less and the handle area keeps its shape through repeated lifting and carrying.
Q: Where do tote bag seams usually receive the most stress?
A: The handle attachment zones take the highest stress, because the entire weight of the bag funnels into the small stitched areas where webbing meets the top edge. The side seam and bottom seam carry the next heaviest share, since everything resting in the bag pushes down through them. Wear almost always appears at those points before the middle of a canvas panel shows anything.
Q: Can stitched seam quality be judged from the outside of a canvas tote bag?
A: Yes, most of it. Look for multiple parallel rows at the handle attachment, even stitch spacing, a reinforcing layer behind the webbing, and a visible strip of fabric beyond the stitch line on inside seams. Then watch the bag under normal carrying: an attachment that stays flat and holds the top edge up points to sound construction.
Sources / References
Threading Your Way Through the Labeling Requirements Under the Textile and Wool Acts
Fogra-research in Digital Printing
